What to Expect During a Septic System Excavation in Spencer MA
If you’re planning to install or replace a septic system, knowing what to expect can help you feel more confident and prepared. Whether it’s your first time dealing with a septic excavation or you’ve been through it before, having the right information makes a big difference. For homeowners looking for septic service Spencer MA providers, this guide will walk you through each phase of the excavation process.
Why Septic System Excavation Is Necessary
Septic system excavation is essential when installing a brand-new system or replacing an old, failing one. Over time, older tanks can crack, drain fields can fail, or systems might need upgrading due to increased household usage. Excavation isn’t just about digging a hole—it’s about properly placing the system for optimal drainage and long-term performance.
It’s important to work with licensed professionals who understand local regulations and have experience managing every stage, from soil testing to permitting to post-installation cleanup.
Step-by-Step: The Septic Excavation Process
Let’s break down what really happens during septic system excavation, from the first site visit to the final inspection.
1. Site Evaluation and Permits
Before a shovel hits the ground, the contractor will assess your property. This includes:
- Soil testing to check percolation (how well water drains through soil)
- Identifying utility lines to avoid during digging
- Planning the tank and drain field layout
They’ll also handle any required permits from local health departments or environmental agencies.
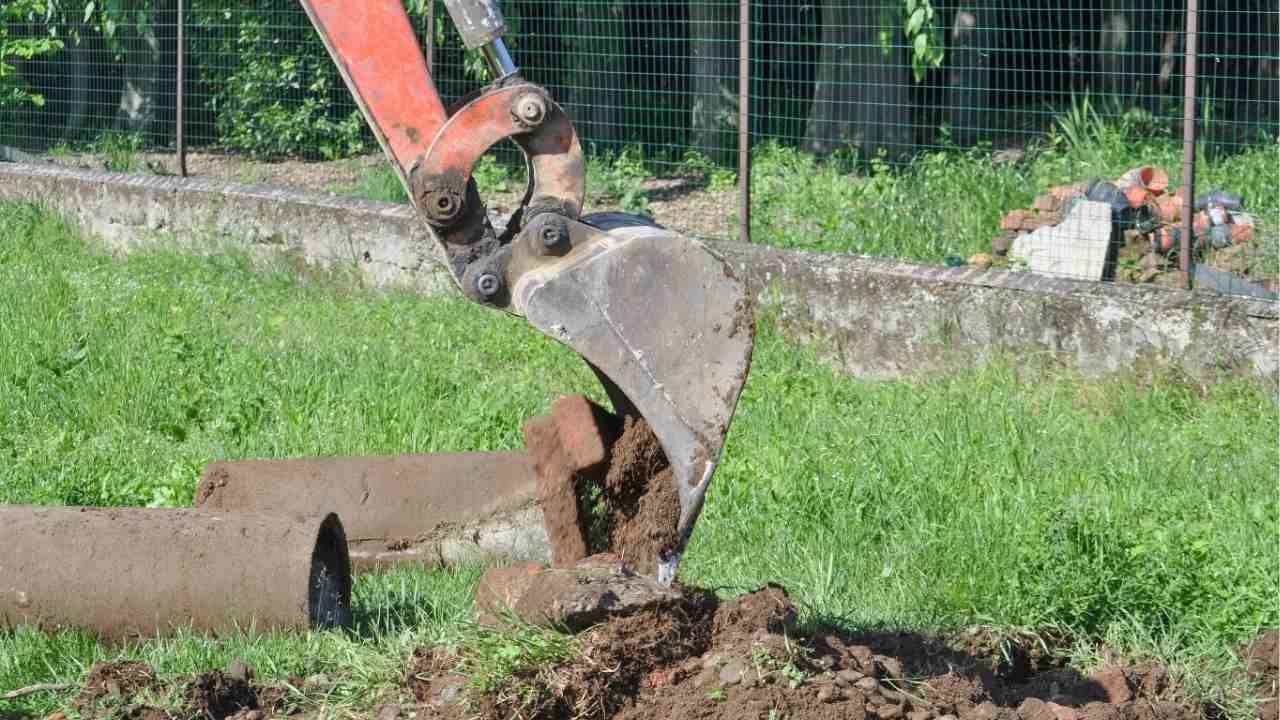
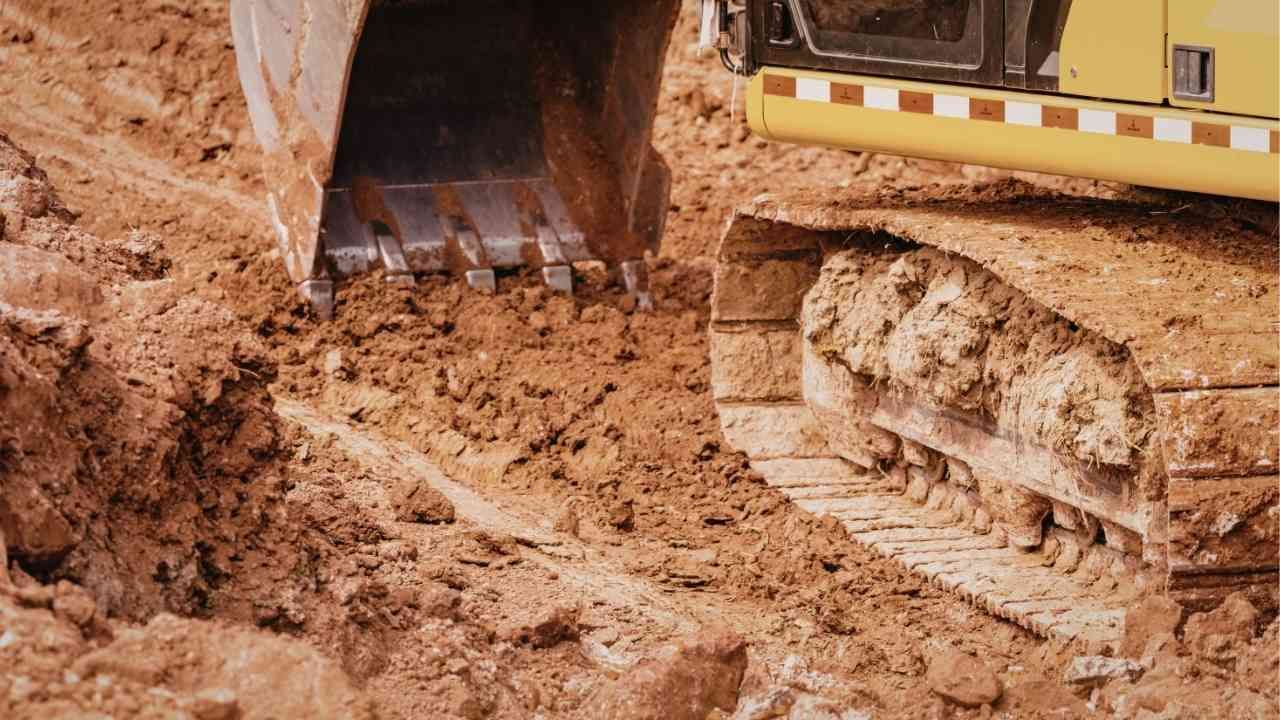
2. Marking and Digging
Once everything is approved, excavation begins. The team will:
- Mark out the tank and leach field areas
- Use heavy machinery to dig trenches and holes for the tank and pipes
- Safely remove and store topsoil for regrading later
This step is where your yard might start to look like a construction zone—but don’t worry, it’s temporary.
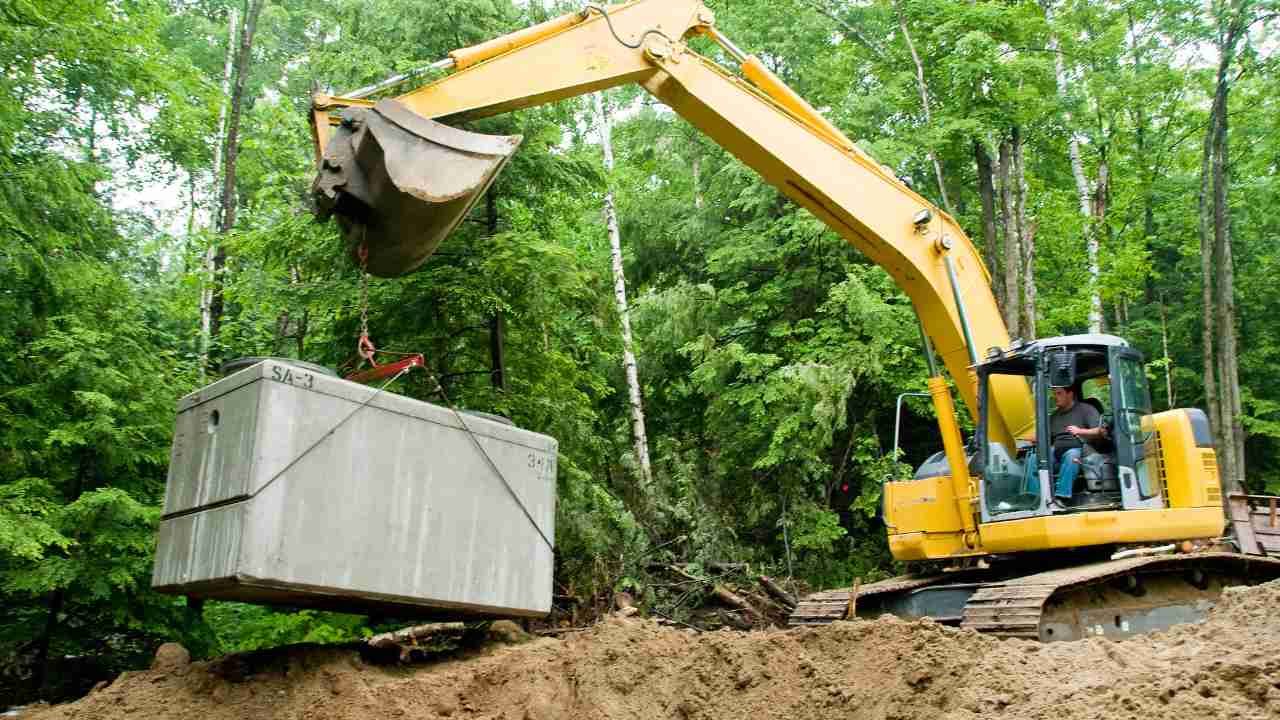
3. Tank and Pipe Installation
After digging, the septic tank is carefully lowered into place. Then:
- Pipes are installed to connect the house to the tank, and the tank to the drain field
- Everything is leveled to ensure proper flow
- Gravel or sand is used to support the drain field and aid filtration
All components must meet state and local standards to ensure your system runs efficiently and safely.
4. System Testing
Before the team covers everything up, they’ll test the system:
- Water will be run through it to check for leaks
- Drainage from the home will be tested to ensure it flows correctly
- Inspection officials may need to approve the installation before backfilling
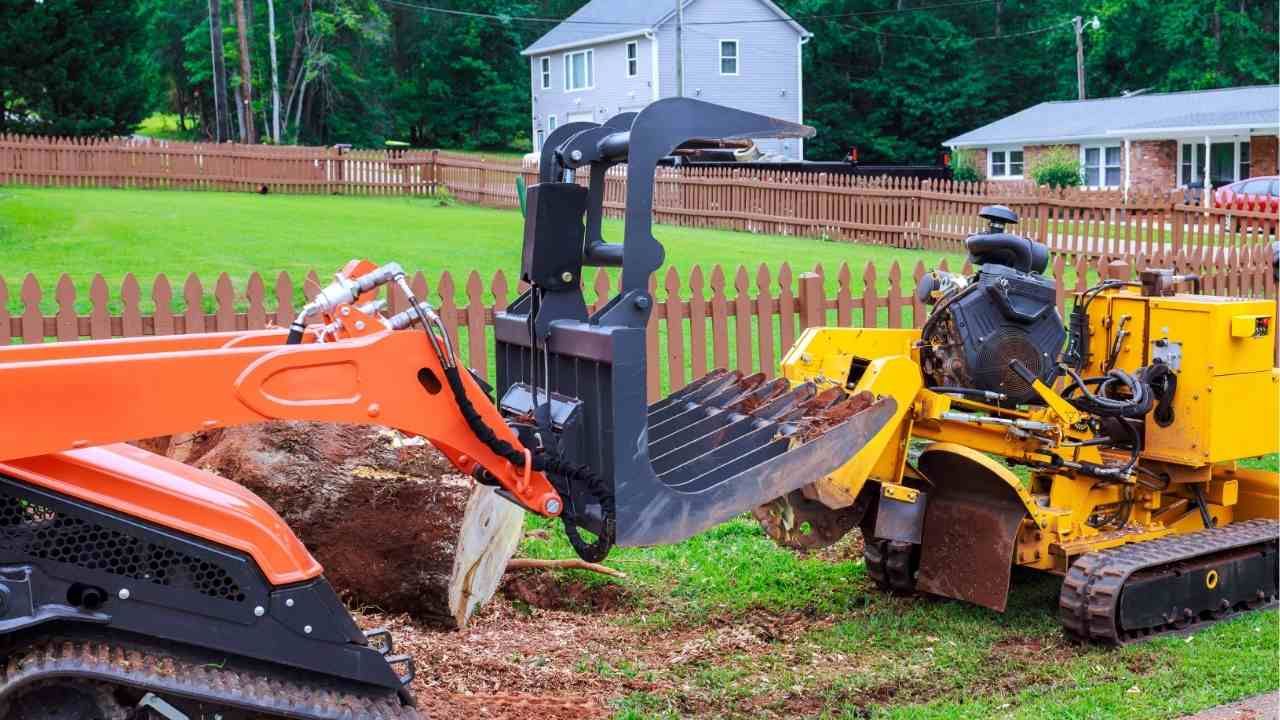
5. Backfilling and Cleanup
Once approved, the crew will backfill the trenches, replace the topsoil, and grade the surface to match your landscape. Depending on the contractor, they may even reseed the lawn or offer landscape restoration as an add-on.
At this point, your septic system is ready to use—just remember to schedule regular maintenance.
A Real-Life Example: Replacing a Failing Septic System
When the Johnson family in Spencer noticed frequent sewage backups in their basement, they called in Groundscapes Inc. for help. After a site inspection, the team discovered that their tank had cracked due to age. Within a week, a full septic system excavation and replacement was completed. The Groundscapes crew managed the permitting, kept the homeowners informed at each stage, and even restored the lawn to its original condition—proof that expert services can make the process smooth and stress-free.
Final Thoughts
Septic system excavation may sound overwhelming, but with the right professionals, it’s a well-organized process that restores sanitation and value to your home. Working with experienced contractors ensures that every detail is handled properly—from digging and installation to permits and inspections.
Ready to start your project?
Reach out to a trusted provider of septic service and make sure your home’s system is in the best hands.
You might also like