The Residential Excavation Process Explained Step-by-Step
Residential excavation looks simple from the outside; big machines, dirt moving fast, but there’s a lot more happening below the surface. If you’re planning a home build, addition, or utility upgrade, understanding the process helps you avoid delays, budget blowouts, and structural headaches later. Homeowners searching for residential excavation services Spencer MA often want clarity, not contractor jargon.
In this guide, you’ll see exactly how residential excavation works, from the first site check to final grading. We’ll walk through each phase, explain why it matters, and show how experienced crews like Groundscapes Inc. keep projects on track. Whether your project involves foundations, drainage, or plumbing and excavation, this breakdown gives you the full picture.
Step 1: Site Evaluation and Planning
Every excavation starts with the land, not the machines. Contractors inspect soil conditions, slope, drainage patterns, and access points. Clay-heavy soil, rock layers, or high water tables can all change the approach.
At this stage, permits are reviewed, utility lines are located, and excavation depth is calculated. Skipping this step is how projects end up over budget or out of compliance.
Why it matters:
- Prevents hitting underground utilities
- Confirms soil can support structures
- Reduces change orders later
Step 2: Marking, Clearing, and Prep Work
Before digging begins, the site is clearly marked. This includes foundation outlines, trench paths, and no-go zones. Trees, debris, and surface obstacles are removed to create a safe work area.
Proper prep ensures equipment can operate efficiently and reduces the risk of damage to surrounding property.
What happens here:
- Utility lines are flagged
- Work boundaries are staked
- Surface vegetation is cleared
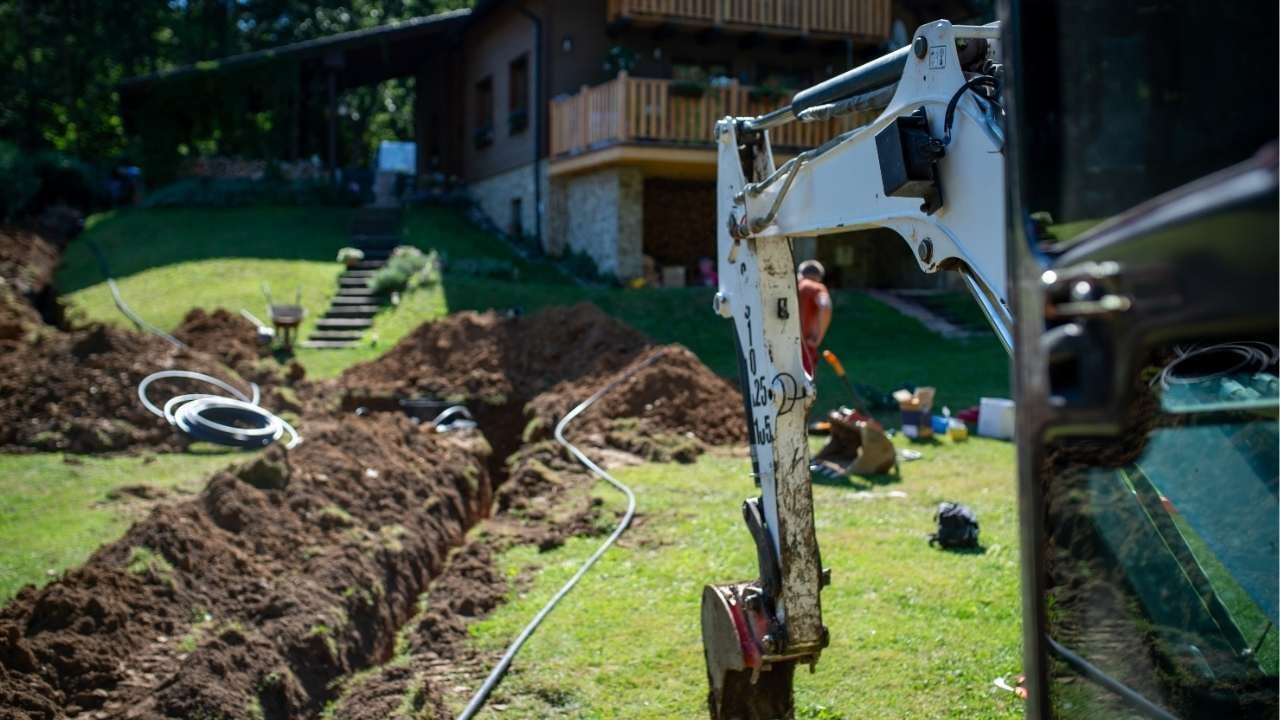
Step 3: Excavation and Trenching
This is the phase most people picture, excavators removing soil to precise depths. Foundations, basements, crawl spaces, and utility trenches are dug according to engineered plans.
Accuracy is everything. Over-digging wastes time and fill material, while under-digging can compromise structural integrity.
Key focus areas:
- Correct depth and slope
- Stable trench walls
- Safe spoil pile placement
Step 4: Inspection and Adjustments
Once digging is complete, inspections may be required before moving forward. Local authorities often verify depth, setbacks, and soil conditions.
If adjustments are needed, they’re handled immediately. Fixing issues now is far cheaper than correcting them after concrete or utilities are installed.
Step 5: Backfilling and Final Grading
After foundations or utilities are in place, excavated areas are backfilled in layers and compacted. Final grading ensures water flows away from the structure, protecting it from erosion and moisture damage.
This step determines how your property drains long-term, something many homeowners only notice when it’s done wrong.
A Quick Real-World Example
A Spencer homeowner planned a garage addition but skipped a detailed soil review. Midway through excavation, unstable soil caused trench collapse and delays. After bringing in a professional excavation crew, the site was re-evaluated, reinforced, and completed correctly. The result: a solid foundation, no drainage issues, and a project finished only days behind schedule instead of weeks. That early expertise saved thousands in potential repairs.
Final Thoughts
Residential excavation isn’t just digging, it’s precision work that sets the stage for everything built on top of it. When done right, it protects your investment, keeps your project on schedule, and prevents costly surprises.
If you’re planning an excavation project, your next step is simple:
reach out to a qualified excavation contractor early, before the dirt starts moving.
You might also like