How to Lay Pavers Like a Pro: A Beginner’s Guide
If you’ve ever admired a beautifully paved patio or walkway and thought, “I could never do that,” think again. With the right tools, a bit of planning, and some professional tips, you can lay pavers that look like they were installed by experts. Whether you’re designing a garden path or a backyard patio, this guide will walk you through every step.
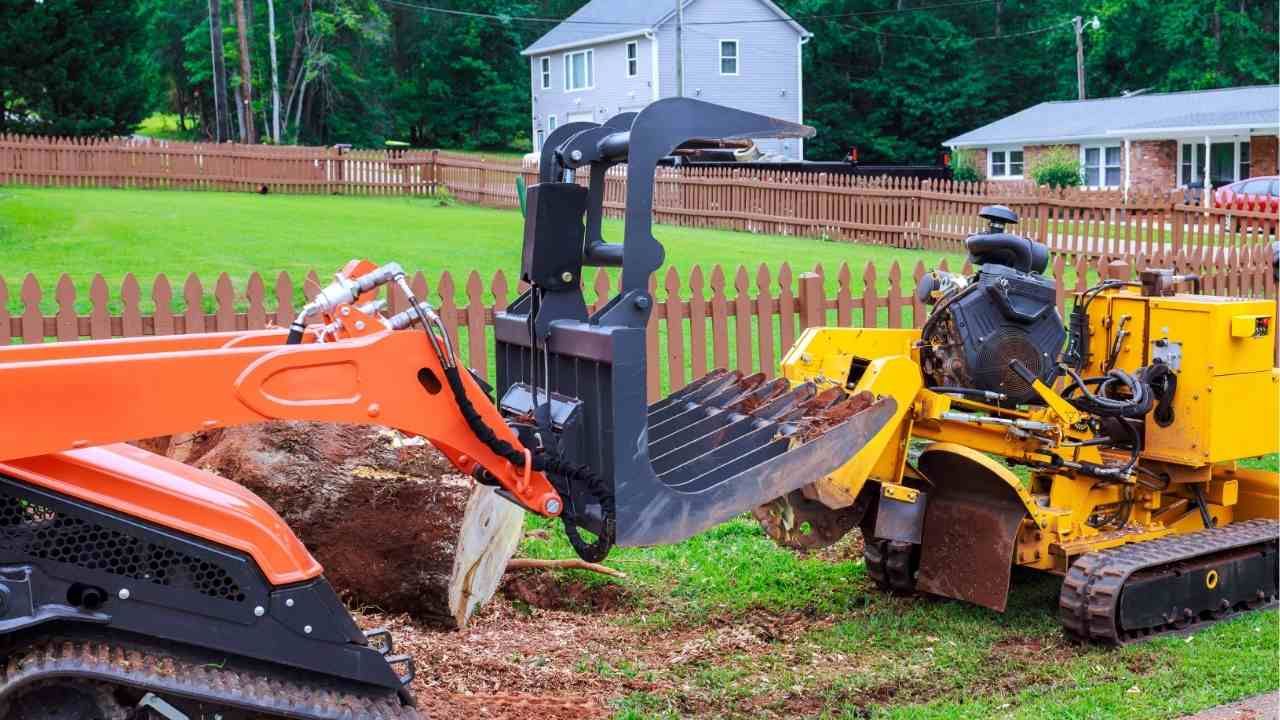
For homeowners looking to elevate their outdoor space, partnering with a trusted landscaping company in Spencer MA such as Groundscapes Inc. can make a huge difference. But if you’re taking the DIY route, following the process used by professional excavating contractors will help ensure your project stands the test of time.
Step 1: Plan and Prepare the Area
Before picking up a shovel, start with a plan. Decide on the shape, size, and purpose of your paved area. Sketch it out and measure carefully. This helps you calculate how many pavers, edge restraints, and base materials you’ll need.
Once your plan is set, mark the area with stakes and string. Make sure to call 811 to check for underground utilities before digging. This is an easy but critical step that saves you from costly mistakes later.
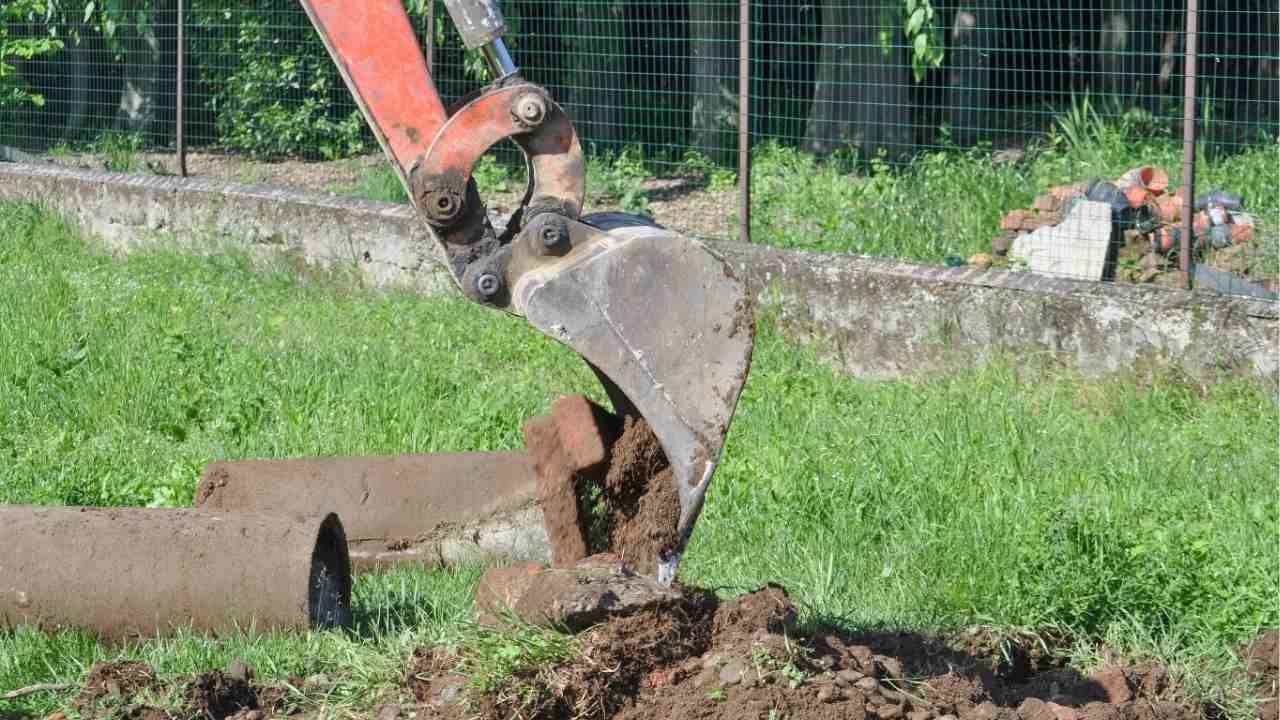
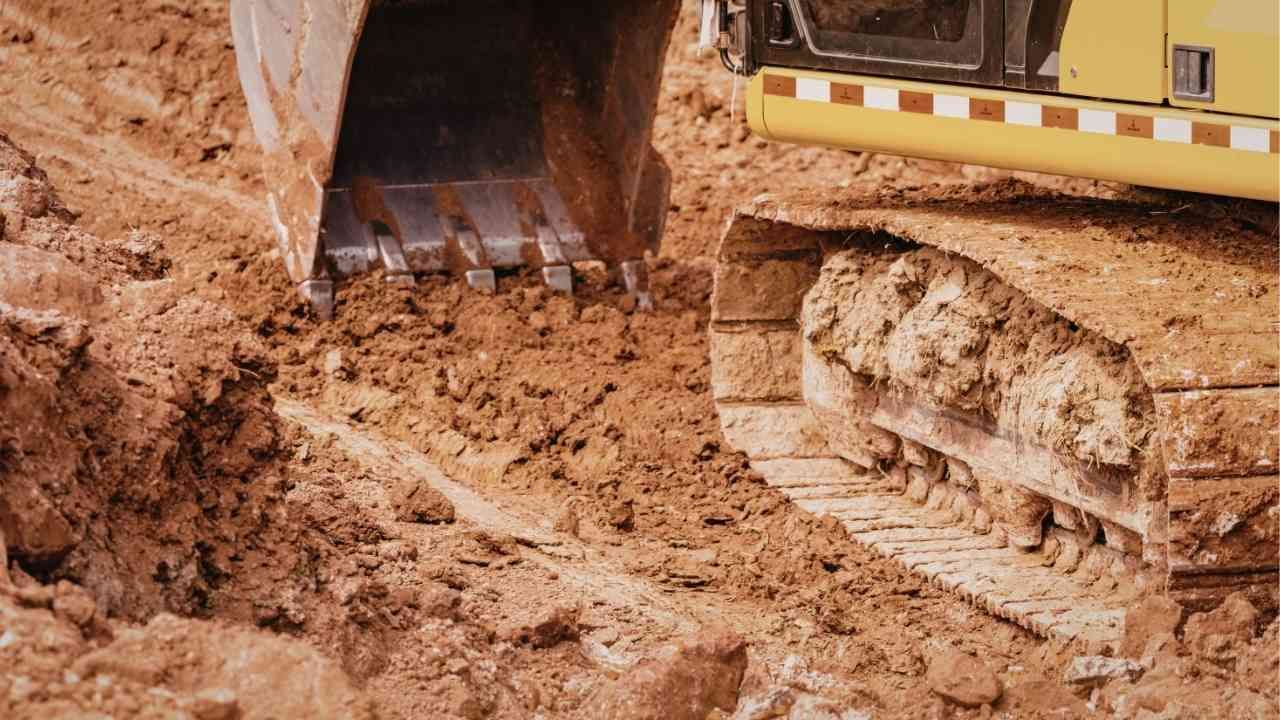
Step 2: Excavate and Level the Base
This step is where your future paver surface’s strength begins. You’ll need to excavate to a depth of about 7–9 inches for patios and walkways. Remove grass, roots, and debris, keeping the area as level as possible.
Next, spread a 4–6 inch layer of crushed gravel. Compact it using a plate compactor until it’s firm and level. The gravel base provides drainage and stability—two factors that prevent shifting and unevenness over time.
Pro tip: Slope the surface slightly away from your home to direct water runoff. A quarter-inch per foot is ideal for most patios.
Step 3: Add and Smooth the Sand Layer
Once your base is compacted, add about an inch of coarse sand on top. Use two parallel pipes as guides to screed (smooth) the sand evenly with a straight board. This layer acts as a cushion for your pavers and allows for minor height adjustments.
Avoid walking directly on the sand after leveling—it can ruin your even surface. If you must step in, use a board to distribute your weight evenly.
Step 4: Lay the Pavers
Now comes the fun part. Starting at one corner, begin laying your pavers in your chosen pattern—whether it’s herringbone, basketweave, or running bond. Keep the pavers tight together and use a rubber mallet to tap them into place.
Check alignment frequently using a string line. If gaps appear, adjust as you go rather than waiting until the end. Consistency is key to a professional finish.
Step 5: Secure and Finish the Project
After all the pavers are laid, add edge restraints along the perimeter to keep everything in place. Next, pour fine sand over the surface and sweep it into the joints between pavers. This locks them together and prevents shifting.
Compact the entire surface once more to settle the sand and pavers. Then, add a final layer of joint sand and sweep off the excess. Rinse lightly with water to help the sand settle.
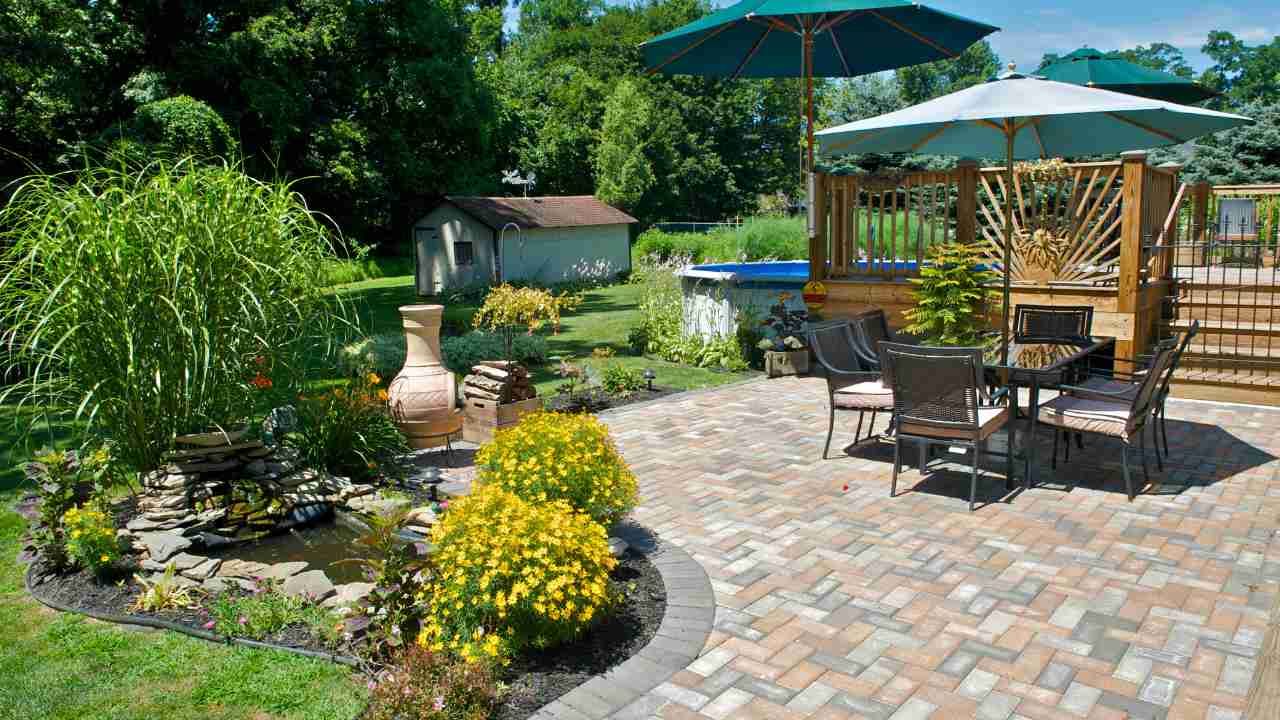
Case Study: A Backyard Makeover Success
A Spencer homeowner wanted to replace their old concrete patio with a warm, rustic paver design. By following these exact steps, they transformed their space into an inviting outdoor retreat in just one weekend. With careful planning, leveling, and patience, the results rivaled professional work—at a fraction of the cost.
Final Touches and Maintenance
Once your pavers are in place, regular upkeep is simple. Sweep debris weekly, rinse off dirt, and reapply joint sand every few years. Consider sealing your pavers to enhance color and prevent staining.
Laying pavers might seem intimidating, but with the right guidance and a steady hand, you can achieve stunning results that last for decades.
Ready to elevate your outdoor space? Contact us to start planning your paver project today and see how professional results are within your reach.
You might also like